

Exercise One: Painting from a Working Drawing
For this exercise, I was asked to create a piece of work of an area in my house that I was rather familiar with. I was then to create several studies of this chosen view; a linear study, a tonal study and a colour study. Once I had created these studies, I was to move away from the area and simply create a piece from memory and by using the studies as my references as opposed to the actual area.
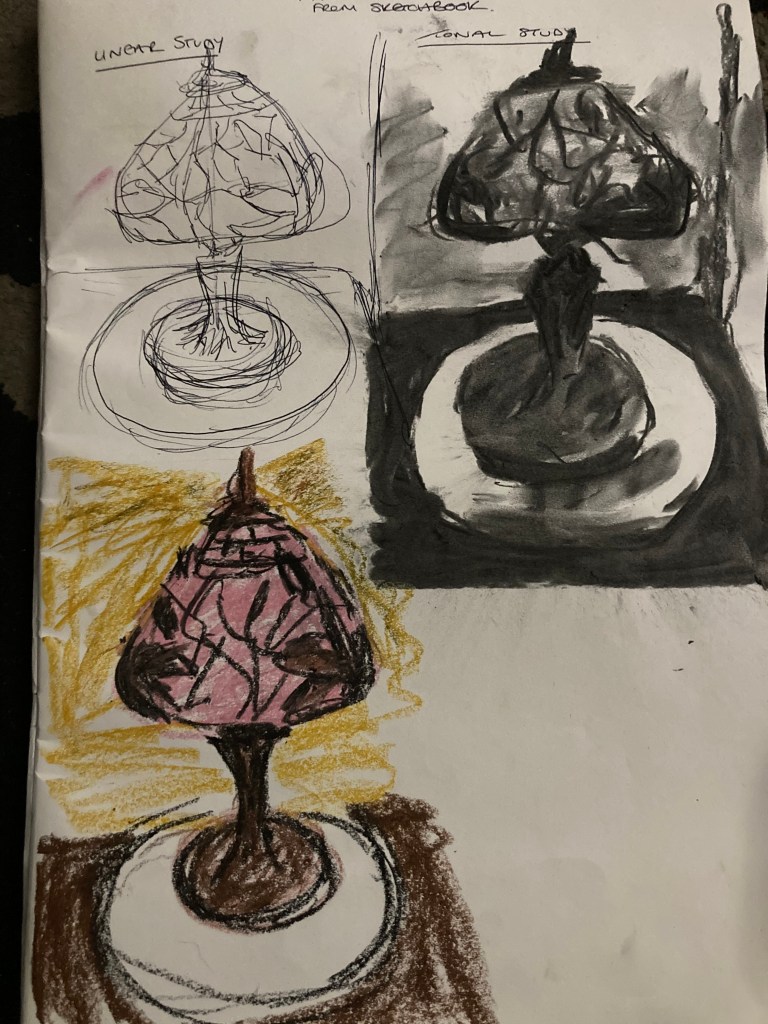
Sketchbook Studies 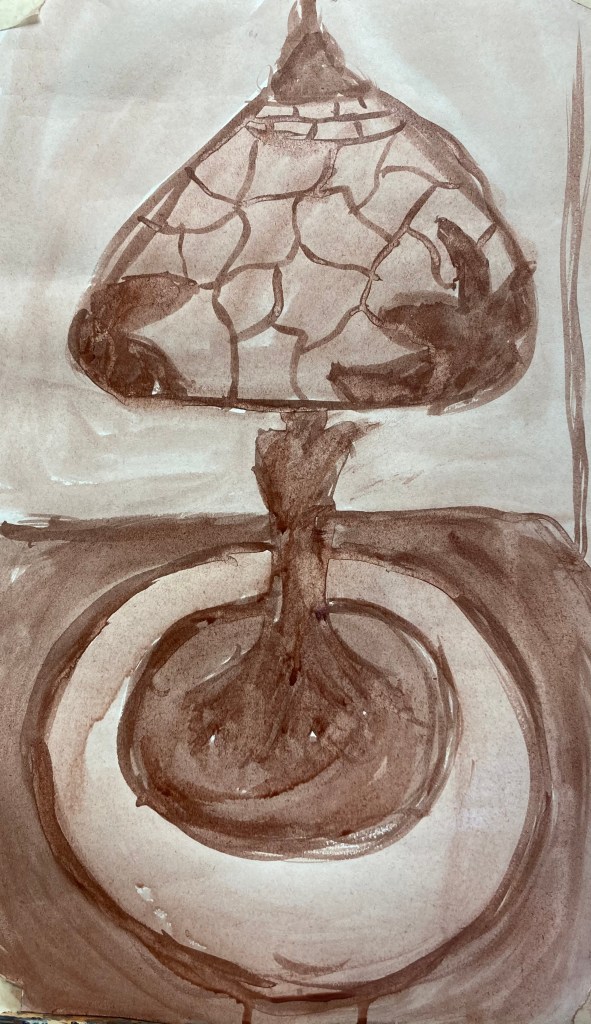
Stage 1 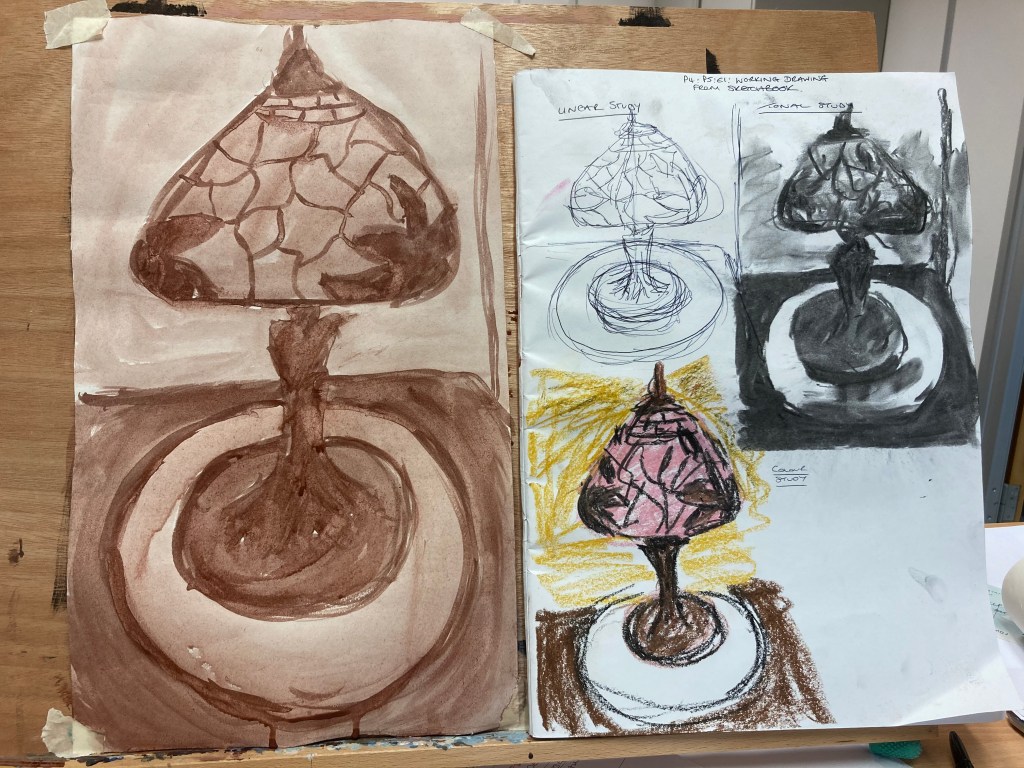
Side by Side 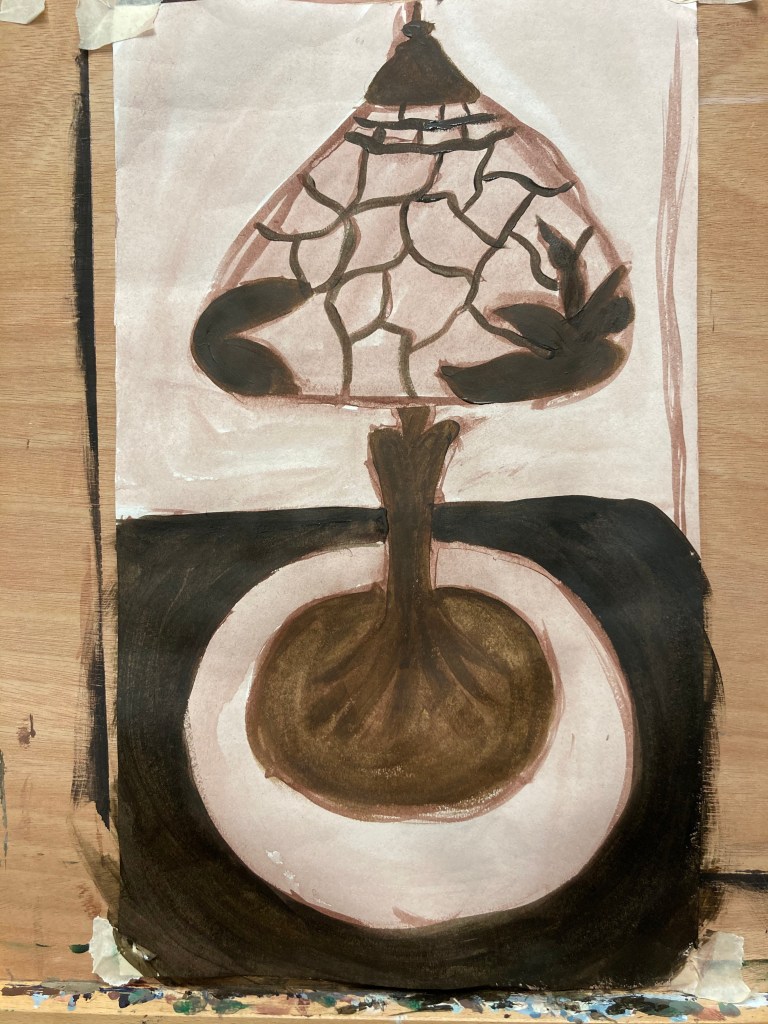
Stage 2 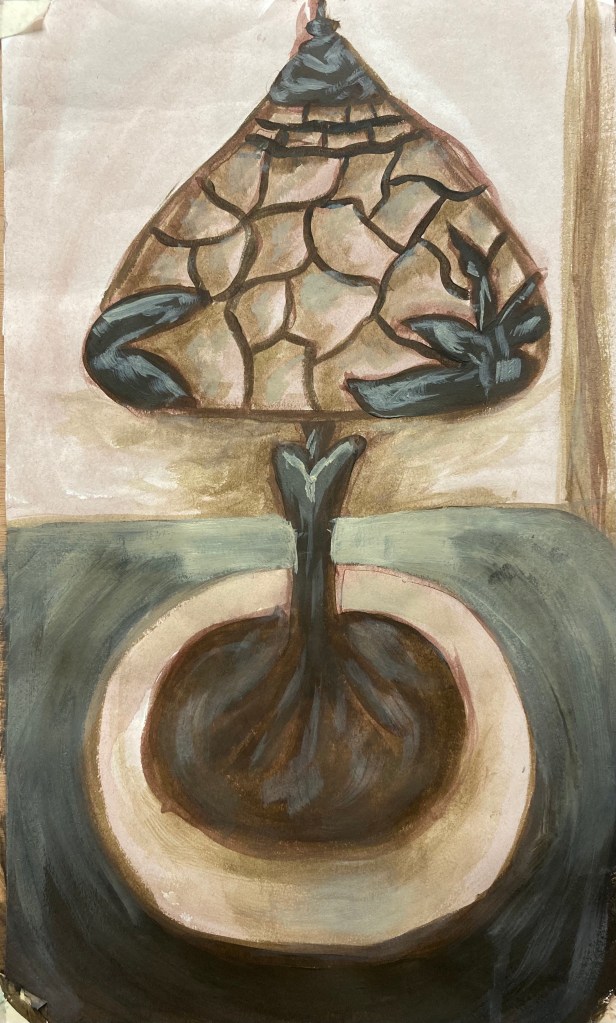
Finished Piece
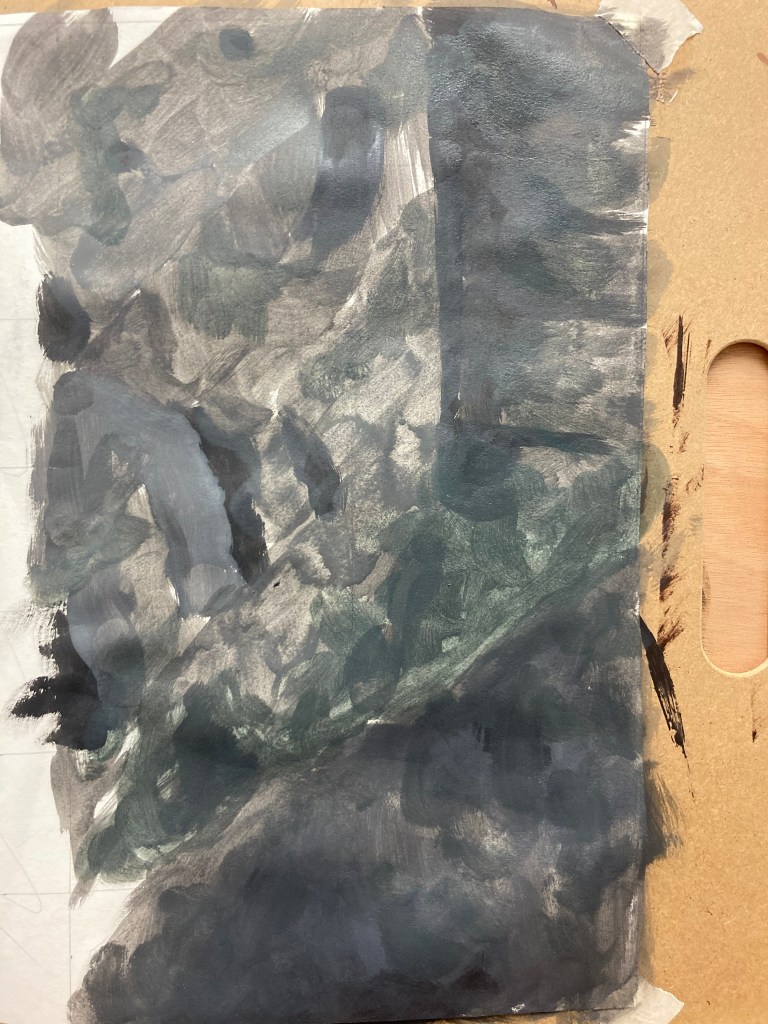
As usual, I began by creating a wash line painting and then used the same wash to fill in the areas with the darkest patches. I then began layering up with my actual chosen colour, however, I decided I would not be too controlled with regard to the original lines I had created in my under-drawing, as directed by my tutor.
I am actually rather pleased with my attempt and the technique itself. I really liked the fact that I could create a lack of realness within the piece from not looking at the actual real object but simply relying on my memory. I like that the initial studies pick up key information but leave out the excess, which is something you can tend to get too tied up in when looking at the real object, so the process itself is actually rather liberating. I feel that had I paid more attention to the physical object, the piece would not be as surreal or as interesting and successful.
Exercise Two: Squaring up
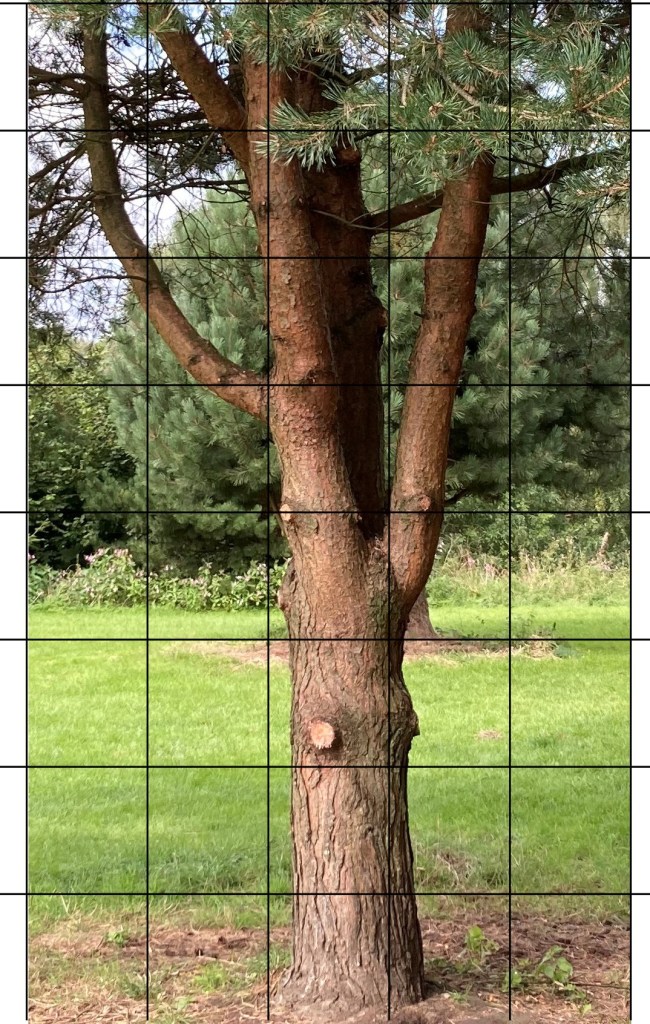
For this exercise, I was asked to take a photograph of my choosing and create a grid over it, which I then had to scale up on my support.
I am actually rather familiar with this method of working and generally tend to approach it by taking a photograph of a physical object from the position in which I will be seated / stood. I then continue to create a grid over the photograph on my computer / with a ruler and pen before creating a line drawing within the grid, then I go over this with a line painting in a wash, but allow myself some freedom with regard to the fluidity of the line. Once this is complete, I then continue to build the piece up layer by layer, with only the odd quick glance at my reference photograph / the original physical object as I much prefer to work from imagination or real life. Whilst I take a photograph of subject matter to assist me, I try not to rely on it due to the colour and light distortion etc and just the general lack of realness which can be found in the physical world. However, since this exercise asked for me to work loosely from a photograph, I decided to follow suit and discover what the exercise was trying to get across to me as opposed to thinking I already had this technique perfected.
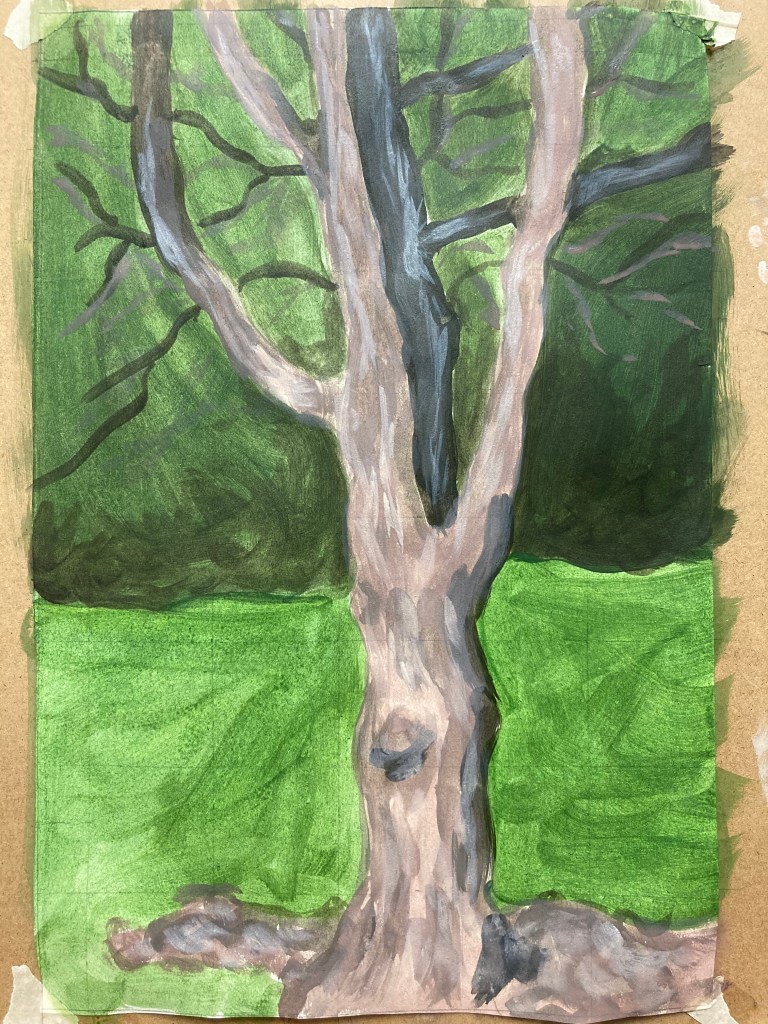
Finished Piece
I was going to continue working on this piece, however, I actually rather liked it as it was and felt that to do any further work to it would actually result in overworking it and so decided to leave it be. I felt I had achieved what was trying to be imbued to me in the assistance provided by a grid, but also the danger of falling into too precise a technique. I had worked very loosely to develop the tree and felt this was effective enough as it was. I also felt it had a rather naive and subtle feel to it which reminds me of the work of Dufy, as researched previously. Whilst not the approach I was originally aiming for, I was happy to allow the painting to develop in its own way.
Exercise Three: Working from a Photograph
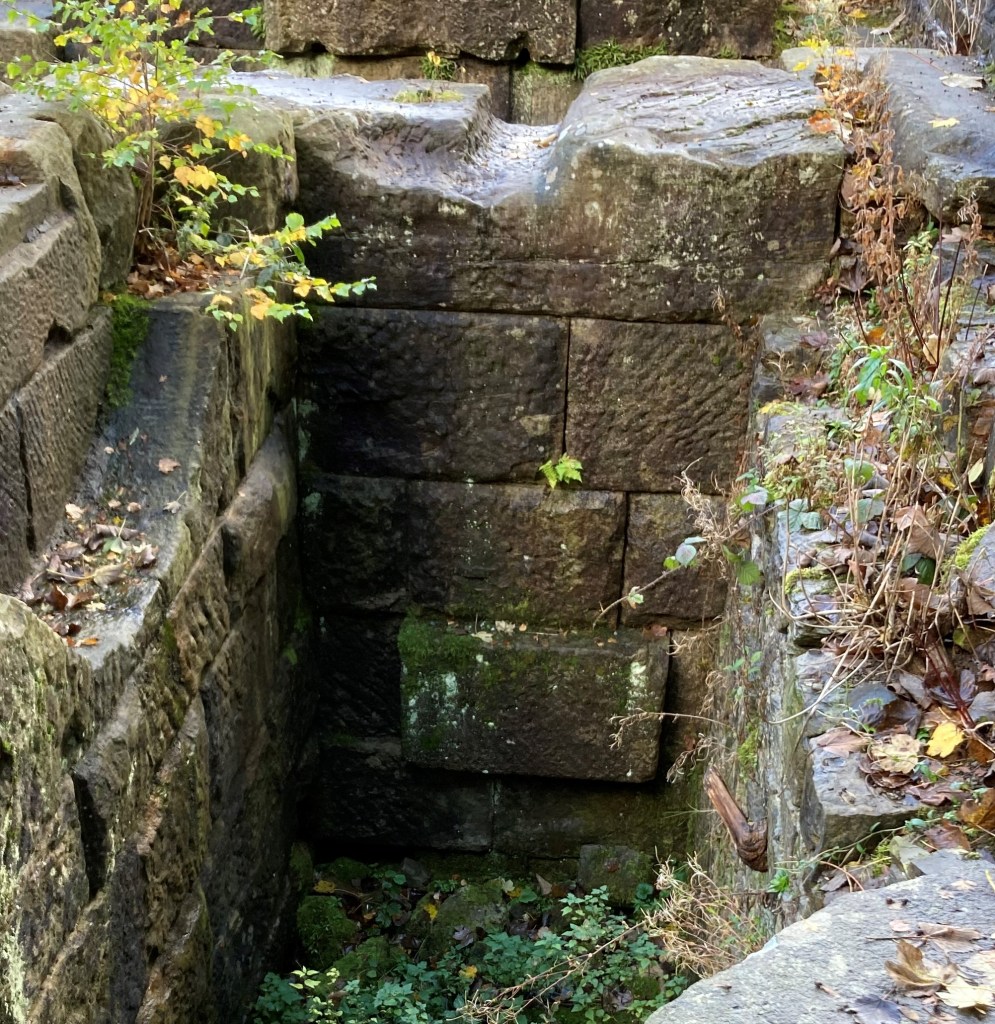
For this exercise, I was to take a chosen photograph and crop it in several different ways to try to find the best composition choice. I settled on part of a disused mill which had been transformed into a historic landmark and country park. I was instantly drawn to the differing angles, tonal qualities and textures of the area and knew this had to be the area to work from for this exercise.
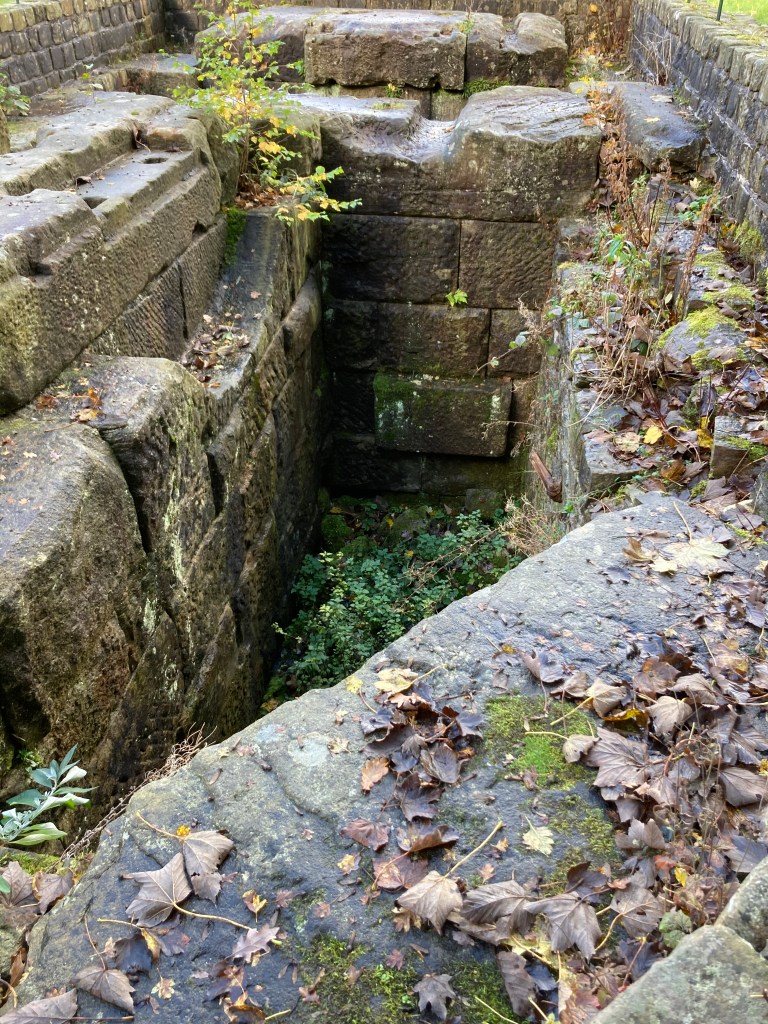
I decided to begin by taking the original photograph, duplicating it, and cropping it in several different ways to consider the same structure from very different positions. The aim of this was to try to find the position which would present the most interesting angles with sharp contrasts throughout. I also really liked the depth and tonal contrasts to be found in the different areas and really wanted to exploit these to my own advantage.
1 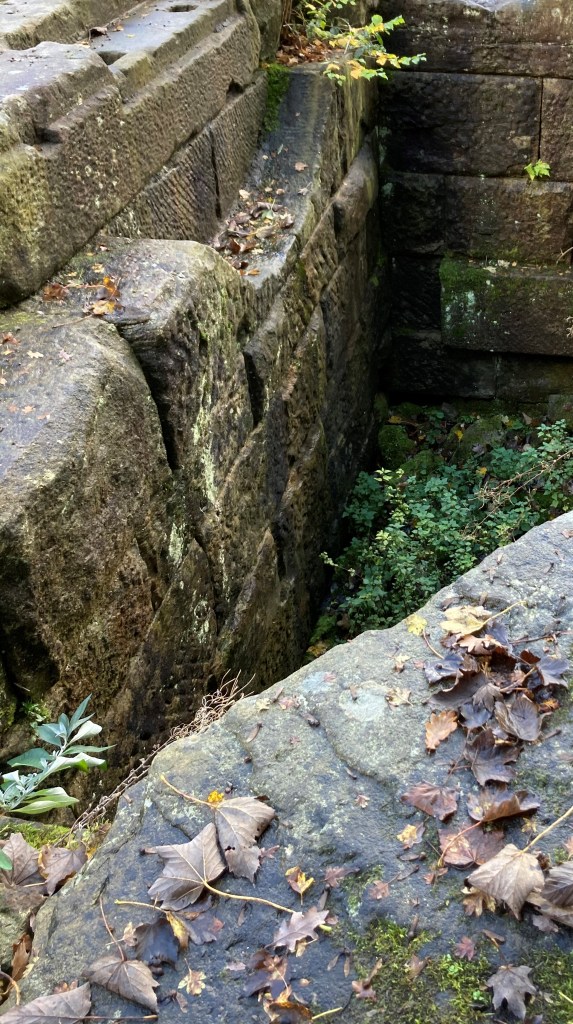
2 
3 
4 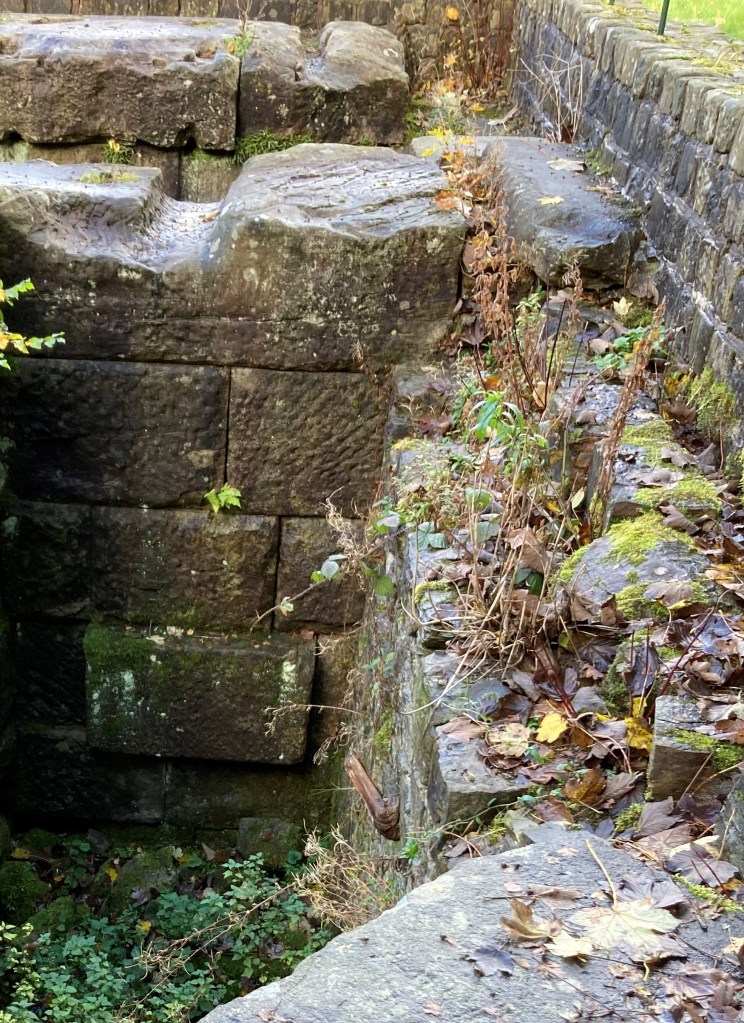
5 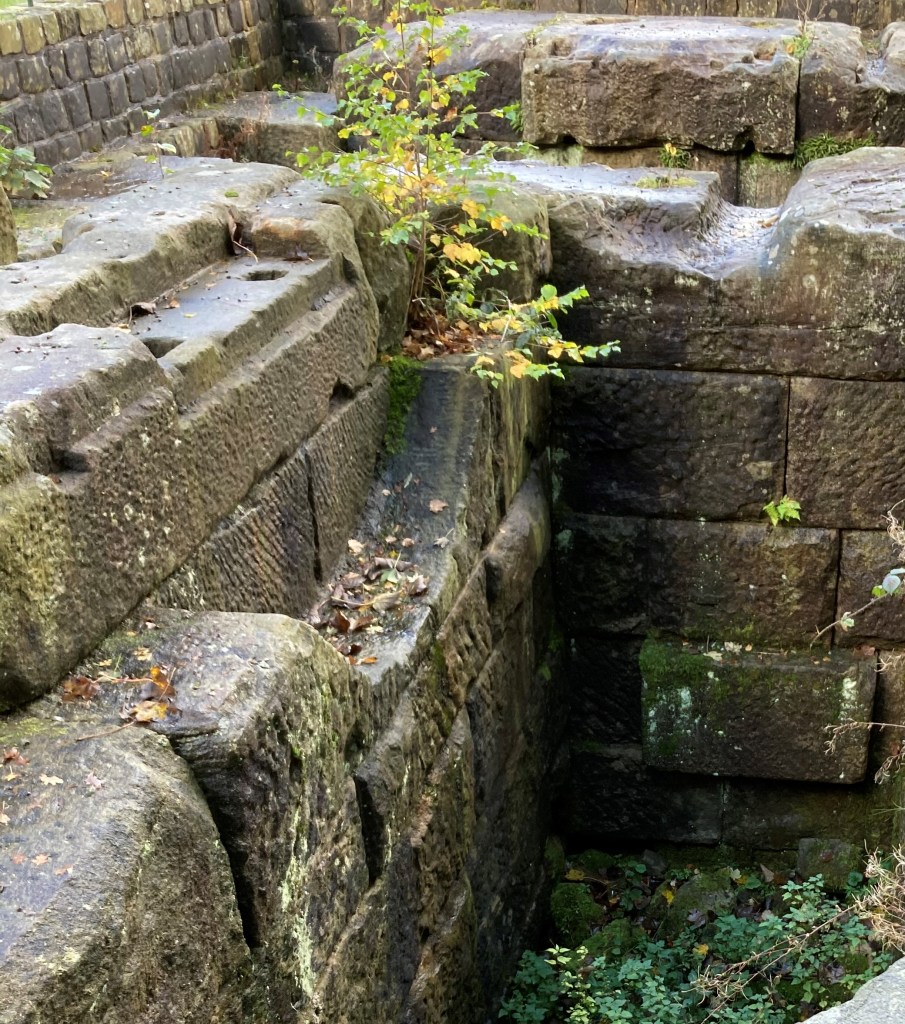
6
Having considered all positions carefully, I finally settled on position 2 as I felt this has the deepest movement and strongest contrasts in angles, tone and grounds, so I could really manipulate these for the strongest results.
Using the same technique as the previous exercise due to wanting to get the angles and walls structurally correct, even though the walls themselves were not as sound as they potentially once were. Whilst wanting this accuracy, I also wanted to bear in mind the effects the decay had had within the paint application.
I began by applying a grey wash to the page but tried to follow the movement of the actual objects to assist me with distinguishing it later on. For the grassy area, I felt to keep it realistically coloured would result in it cheapening the piece as a whole, so I decided to mix what I felt was the closest green to the actual grass in with the grey. I find this technique of using the base layer colour to mix in with the other colours found within the original subject matter rather equalising to keep the piece balanced and well apportioned.
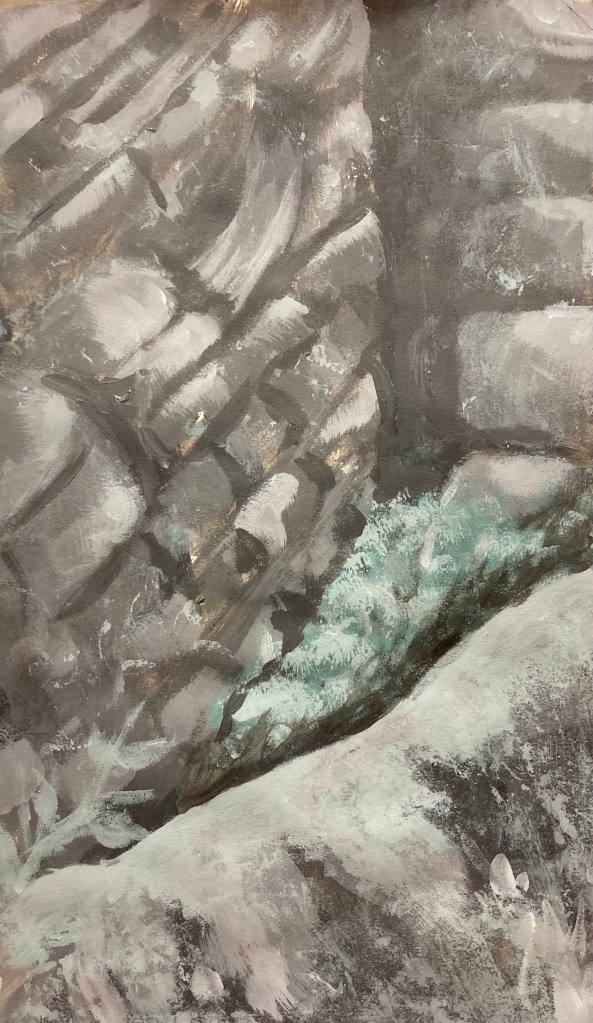
Overall, I think the piece has been rather successful in creating the effects and texture of bricks. Having re-read the instructions within the course manual, I think adding another layer of texture, such as fine grit, may have helped further to distinguish the shapes and the illusion of depth within the piece. I note that this will be explored further in the next part, so I am actually rather looking forward to that now as I think it will actually really assist me in creating more visually enticing works.
